There are situations where, even if the OpenSSH Version is earlier than the v7.7, User Enumeration does not work due due to some configuration or manual patches
In this case, nothing interesting is extracted
21 - FTP
Like always, we start checking whether Anonymous FTP login is enabled to be able to extract any sensitive data
ftp -a 10.129.77.162 21
Command Output
Connected to 10.129.77.162.220 (vsFTPd 3.0.3)331 Please specify the password.530 Login incorrect.ftp: Login failedftp>
If the above command’s output is not too much clear, you can also use wget to try to download the content of the FTP directory recursively
--2025-01-27 15:21:14-- ftp://10.129.77.162/ => ‘10.129.77.162/.listing’Connecting to 10.129.77.162:21... connected.Logging in as anonymous ...Login incorrect.
As we can see, it seems that the Anonymous FTP login is not enabled
There is nothing else we can check except the FTP Service Version, It may be vulnerable
FTP Service and Version → vsftpd 3.0.3
We use searchsploit for this task
searchsploit vsftpd
Command Output
---------------------------------------------------------------------------------------------------------------------------------------------------------------------------------------------------------------------- --------------------------------- Exploit Title | Path---------------------------------------------------------------------------------------------------------------------------------------------------------------------------------------------------------------------- ---------------------------------vsftpd 2.0.5 - 'CWD' (Authenticated) Remote Memory Consumption | linux/dos/5814.plvsftpd 2.0.5 - 'deny_file' Option Remote Denial of Service (1) | windows/dos/31818.shvsftpd 2.0.5 - 'deny_file' Option Remote Denial of Service (2) | windows/dos/31819.plvsftpd 2.3.2 - Denial of Service | linux/dos/16270.cvsftpd 2.3.4 - Backdoor Command Execution | unix/remote/49757.pyvsftpd 2.3.4 - Backdoor Command Execution (Metasploit) | unix/remote/17491.rbvsftpd 3.0.3 - Remote Denial of Service | multiple/remote/49719.py---------------------------------------------------------------------------------------------------------------------------------------------------------------------------------------------------------------------- ---------------------------------Shellcodes: No Results
There is nothing interesting for the version we have, we will not get anything from the Remote Denial of Service either
53 - DNS
The DNS Service Version has been extracted before with Nmap
We can also extract it using dig →
dig CHAOS TXT version.bind @10.129.77.162 +short
Command Output
"9.11.3-1ubuntu1.2-Ubuntu"
We can search for known exploits or CVEs for that version but we will not find anything
At the moment we have no valid domain to try a DNS Zone Transfer or use dig with ANY to get some DNS registers from the specified domain’s DNS Zone
139, 445 - SMB
Let’s grab some information about the target, such as the hostname and some aspects related to the exposed SBM Service using netexec
SMB 10.129.77.162 445 FRIENDZONE [*] Windows 6.1 (name:FRIENDZONE) (domain:) (signing:False) (SMBv1:True)SMB 10.129.77.162 445 FRIENDZONE [+] \:SMB 10.129.77.162 445 FRIENDZONE [*] Enumerated sharesSMB 10.129.77.162 445 FRIENDZONE Share Permissions RemarkSMB 10.129.77.162 445 FRIENDZONE ----- ----------- ------SMB 10.129.77.162 445 FRIENDZONE print$ Printer DriversSMB 10.129.77.162 445 FRIENDZONE Files FriendZone Samba Server Files /etc/FilesSMB 10.129.77.162 445 FRIENDZONE general READ FriendZone Samba Server FilesSMB 10.129.77.162 445 FRIENDZONE Development READ,WRITE FriendZone Samba Server FilesSMB 10.129.77.162 445 FRIENDZONE IPC$ IPC Service (FriendZone server (Samba, Ubuntu))
We are able to list the Shared Resources through a SMB Null Authentication
Note that we can achieve the same using othe tools such as smbclient or smbmap
SMBClient
smbclient --user '' --no-pass --list friendzone
Command Output
Sharename Type Comment --------- ---- ------- print$ Disk Printer Drivers Files Disk FriendZone Samba Server Files /etc/Files general Disk FriendZone Samba Server Files Development Disk FriendZone Samba Server Files IPC$ IPC IPC Service (FriendZone server (Samba, Ubuntu))Reconnecting with SMB1 for workgroup listing. Server Comment --------- ------- Workgroup Master --------- ------- HTB SECNOTES MEGACORP MULTIMASTER WORKGROUP FRIENDZONE
SMBMap
smbmap -H friendzone -u '' -p ''
Command Output
[+] Guest session    IP: friendzone:445      Name: unknown
     Disk                                                    Permissions     Comment
     ----                                                    -----------     -------
     print$                                                  NO ACCESS       Printer Drivers
     Files                                                   NO ACCESS       FriendZone Samba Server Files /etc/Files
     general                                                 READ ONLY       FriendZone Samba Server Files
     Development                                             READ, WRITE     FriendZone Samba Server Files
     IPC$
According to the above results, we have read perms on General and read and write perms on Development
IMPORTANT
Be aware hat having write permissions on a shared folder is always interesting as we can take advantage of this for an Arbitrary File Upload or to point to the upload file if a Local File Inclusion is disclosed in the Web Application
As said, take into account that we have write permissions on a shared resource
We can enumerate this resources using the previous tools
With smbclient we can stablish an interactive SMB session to navigate between all the resources contained within the shared folder
But this time, I think It is better to use smbmap or netexec with the spider_plus module to list all their contents
SMBMap
smbmap -H friendzone -u '' -p '' -r 'general'
Command Output
[+] Guest session         IP: friendzone:445      Name: unknown
      Disk                                                    Permissions     Comment
      ----                                                    -----------     -------
      general                                                 READ ONLY
      .\general\*
      dr--r--r--                0 Wed Jan 16 21:10:51 2019    .
      dr--r--r--                0 Tue Sep 13 16:56:24 2022    ..
      fr--r--r--               57 Wed Oct 10 01:52:42 2018    creds.txt
Note that all this subdomains can are configured in the Apache Web Server as Virtual Hosts. In that case, different content will be delivered to the client depending on the Virtual Host for which the request is made
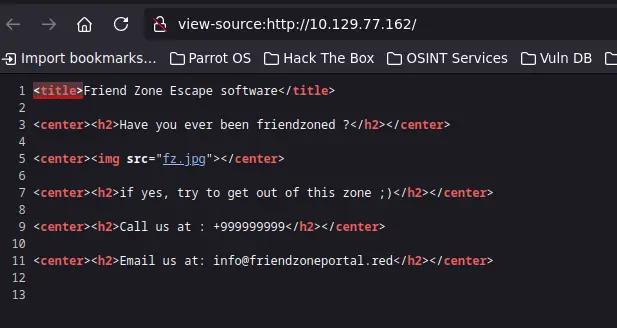
80, 443 - HTTP[s]
Let’s examine the Web Technologies that are running in the Web Server using whatweb
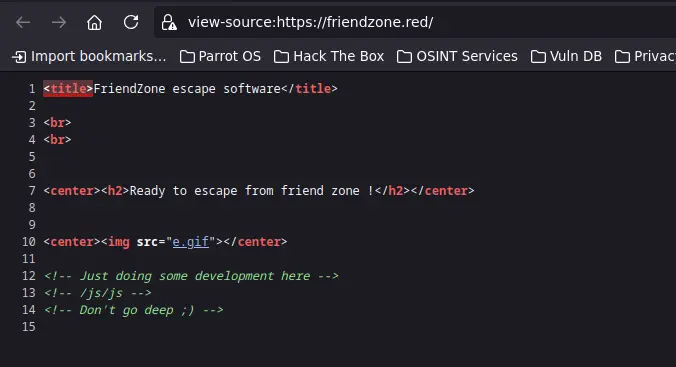
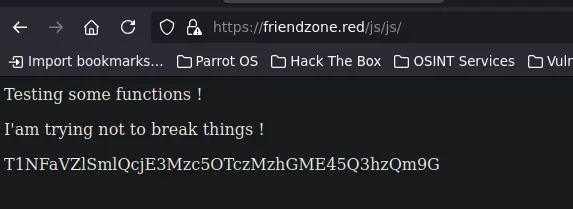
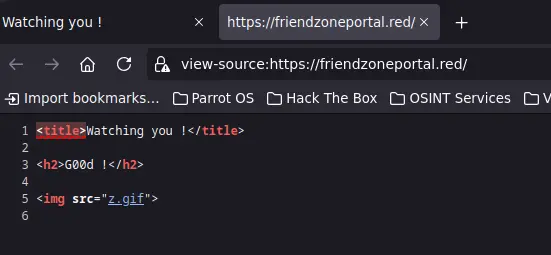
There is nothing interesting in the Source Code either
Subdomains
If we carry out the same task with all the subdomains found through DNS Zone Transfer for both domains, friendzone.red and friendzoneportal.red, we get the same content as http://10.129.77.162:80 in most of them
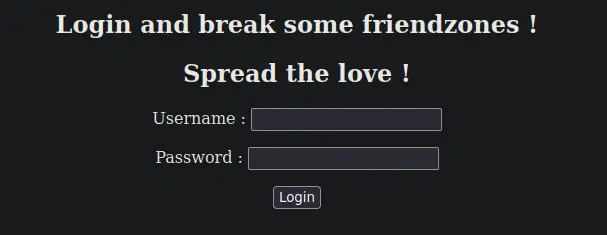
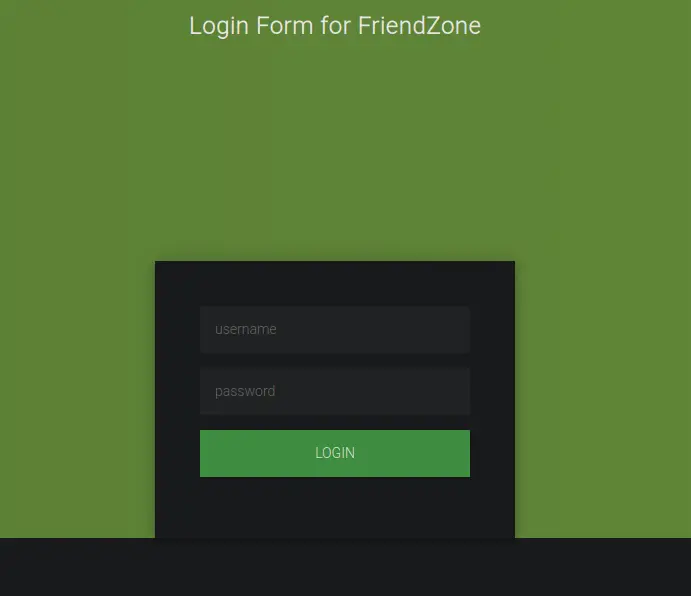
Here we have another login panel, but this one seems to different
Let’s test the credentials we have again
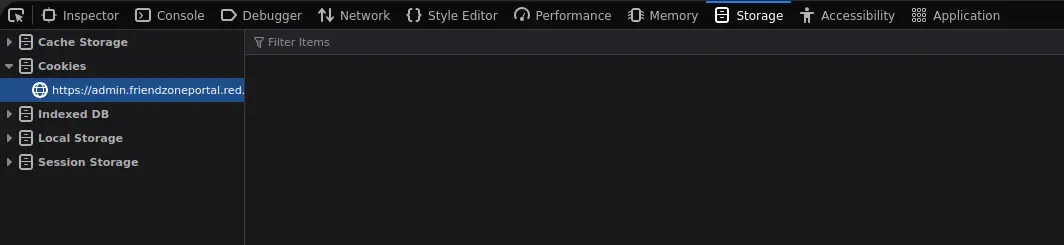
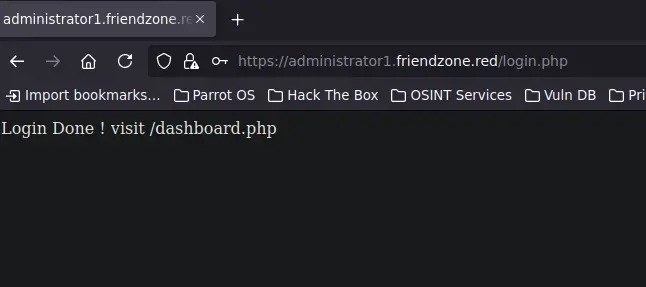
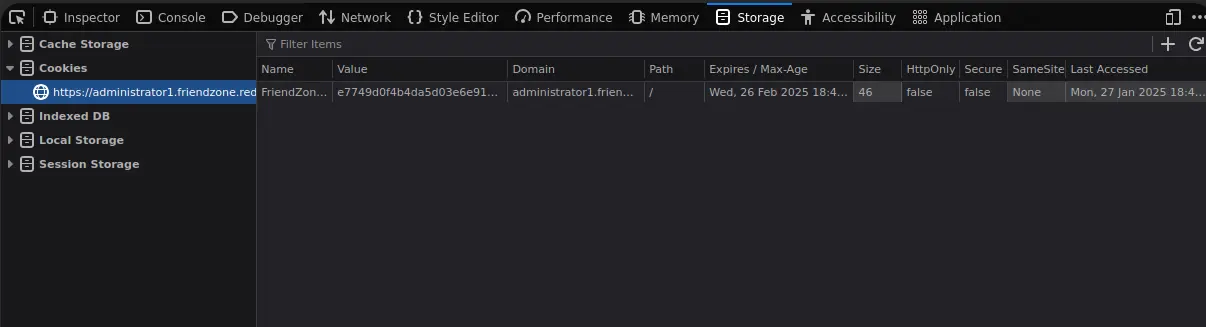
Unlike the last login panel, with this one we have successfully logged in and a Session Cookie has been set
It says that we have to visit /dashboard.php, let’s do it!
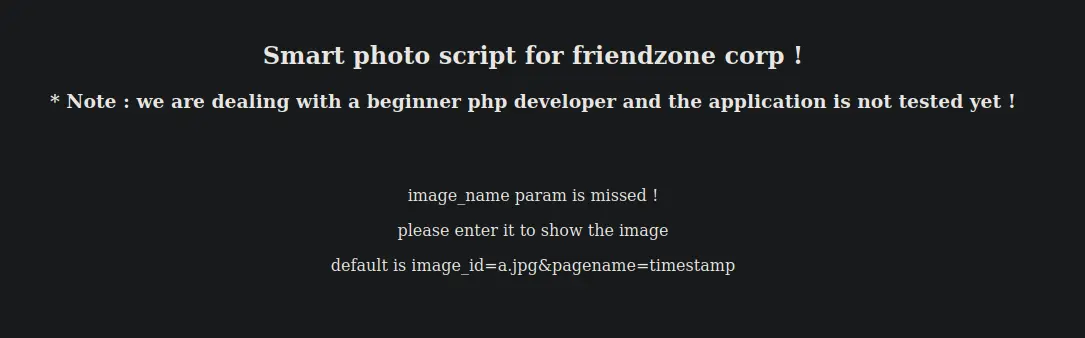
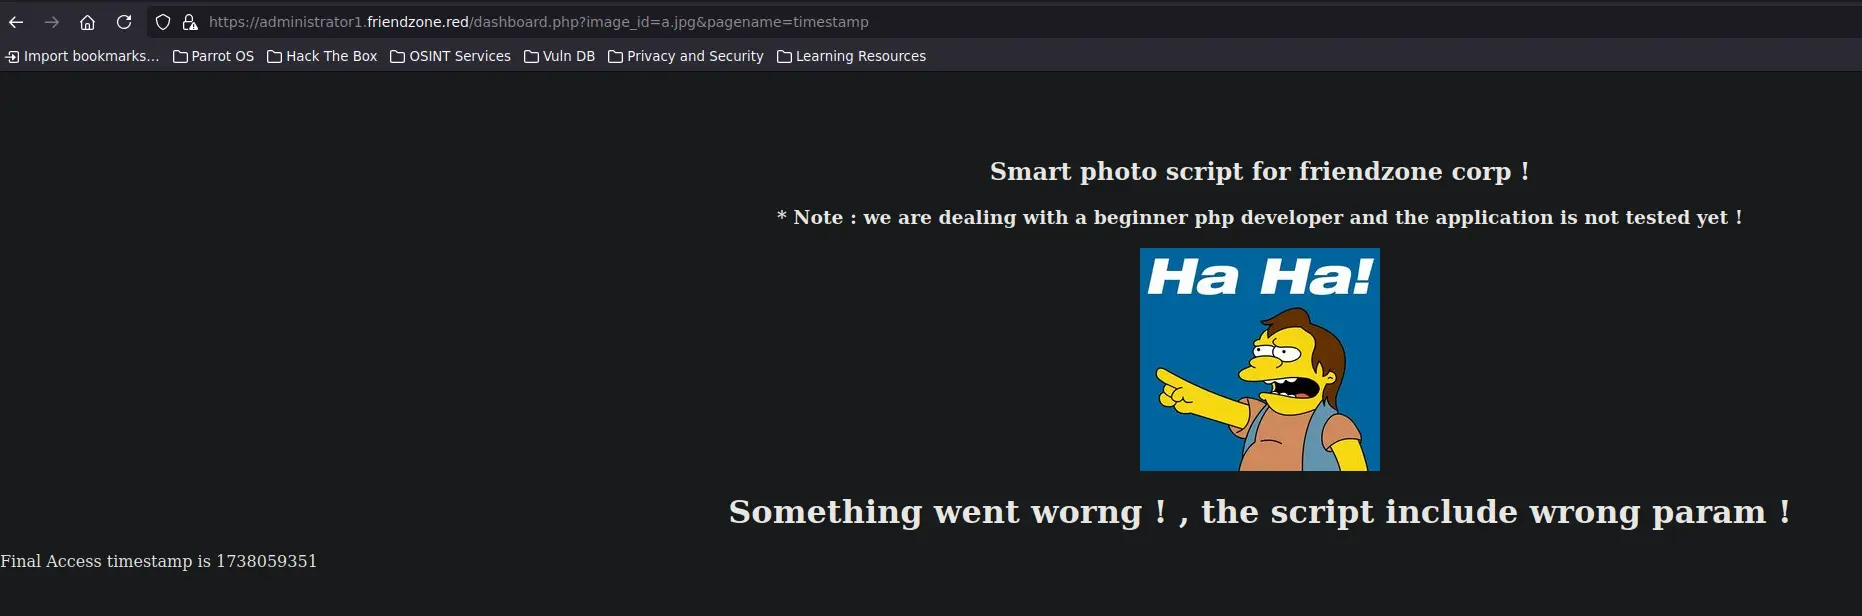
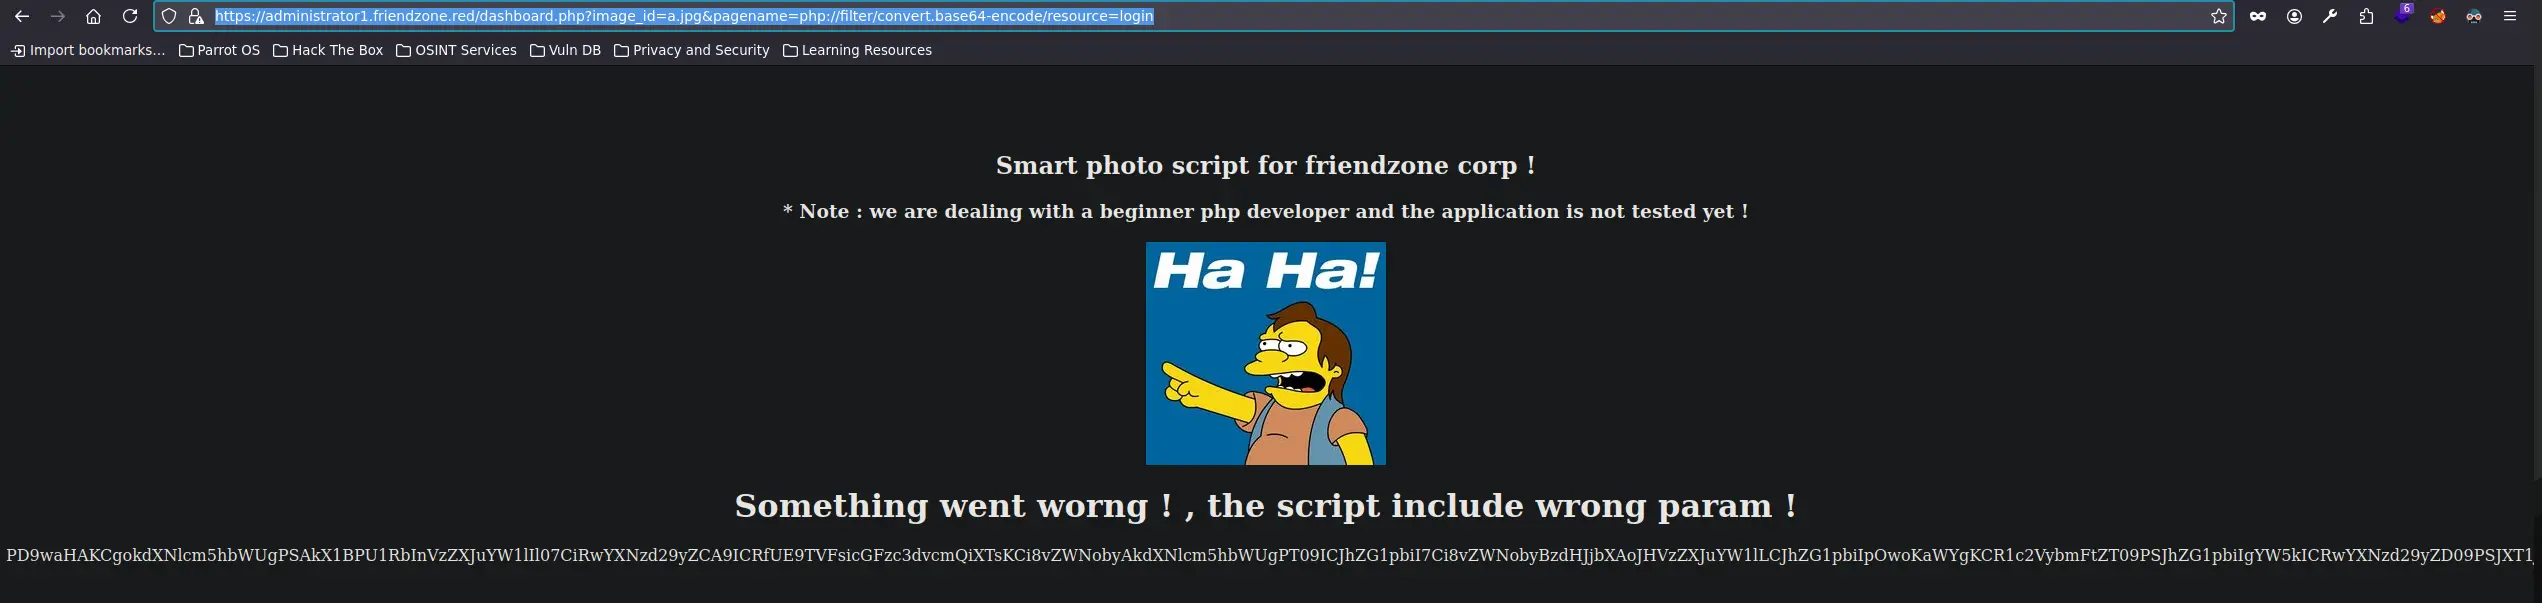
It displays the following content →
It seems that we can refer to images and pagenames in those URL Parameters
The image_name parameter may be related to the page we inspect earlier where we could upload images
While we inspect the functionality of this page, I would run another gobuster to see if we can discover some PHP resources
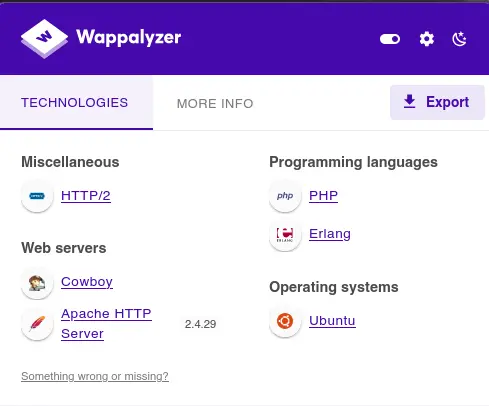
Remember that earlier we have logged in thanks to a login.php script and now we are inspecting a dashboard.php script. So, It’s obvious that PHP is the Server-Side Language Program in this case
We can verify this statement through the Wappalyzer Browser Add-on →
Thus, let’s run gobuster again, but this time specifying as extension PHP
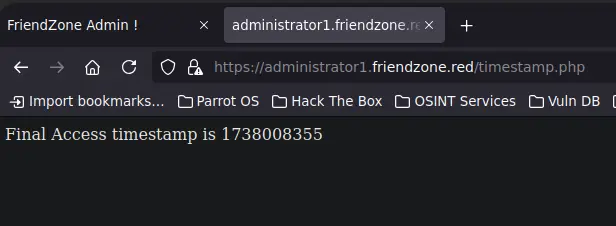
It appears that It displays an specific timestamp. There is no functionality other than that
Exploitation
RCE via File Upload through SMB + LFI
Local File Inclusion through PHP://Filter
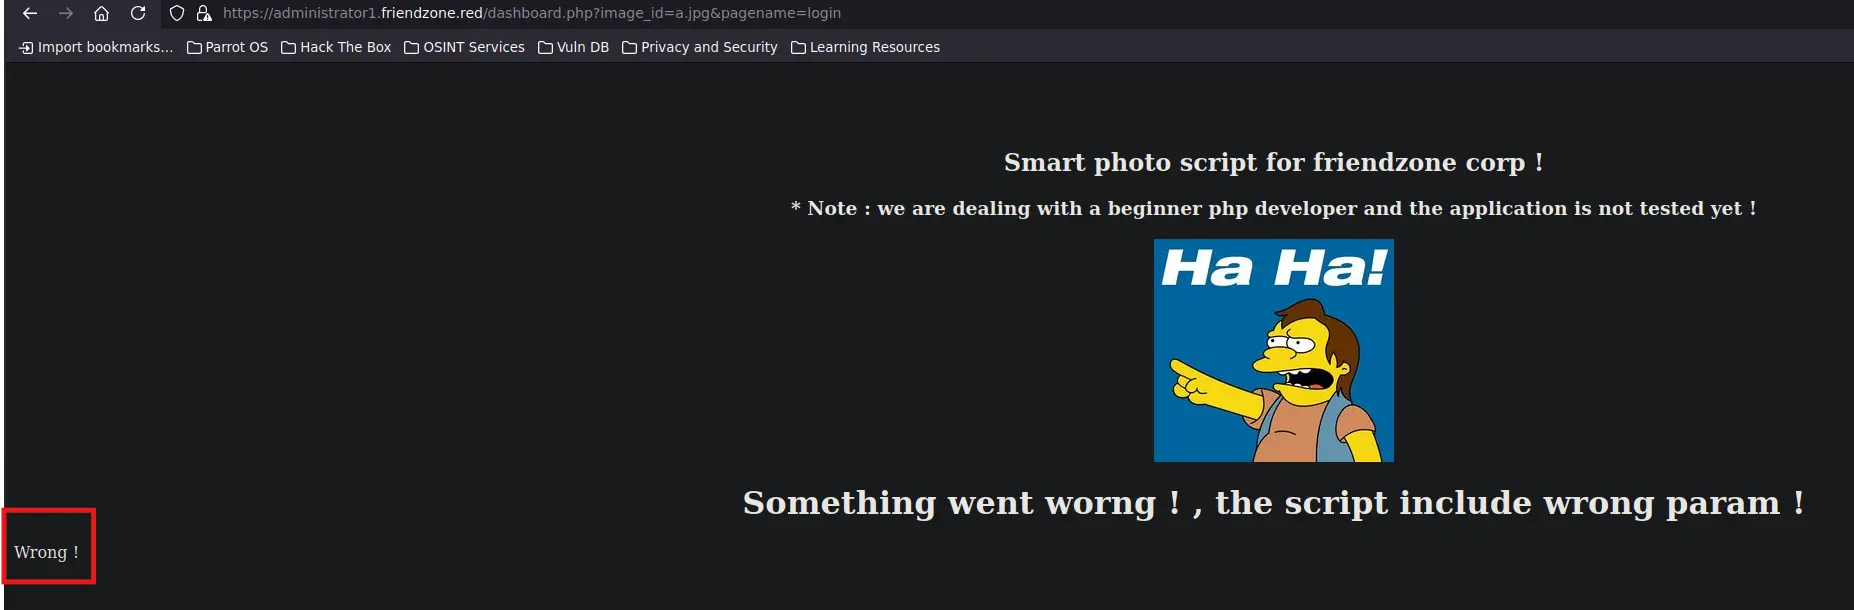
If we test the functionality mentioned in the Web Page using the indicated URL Parameters, we will get the following content →
If we pay attention, it looks like the timestamp.php resource is being included in the HTTP Response Body
Since we have referenced this file in the pagename URL parameter of the dashboard.php script, we can try to point to other resources such as the ones listed above with gobuster
If we request the following content trying to include the login.php resource →
Here we go! It works! We can do the same with the rest and decode the whole strings encoded in base64 to check if there is a bug in the PHP Code or an information leakage such as passwords, database connection…
<?php//echo "<center><h2>Smart photo script for friendzone corp !</h2></center>";//echo "<center><h3>* Note : we are dealing with a beginner php developer and the application is not tested yet !</h3></center>";echo "<title>FriendZone Admin !</title>";$auth = $_COOKIE["FriendZoneAuth"];if ($auth === "e7749d0f4b4da5d03e6e9196fd1d18f1"){ echo "<br><br><br>";echo "<center><h2>Smart photo script for friendzone corp !</h2></center>";echo "<center><h3>* Note : we are dealing with a beginner php developer and the application is not tested yet !</h3></center>";if(!isset($_GET["image_id"])){ echo "<br><br>"; echo "<center><p>image_name param is missed !</p></center>"; echo "<center><p>please enter it to show the image</p></center>"; echo "<center><p>default is image_id=a.jpg&pagename=timestamp</p></center>"; }else{ $image = $_GET["image_id"]; echo "<center><img src='images/$image'></center>"; echo "<center><h1>Something went worng ! , the script include wrong param !</h1></center>"; include($_GET["pagename"].".php"); //echo $_GET["pagename"]; }}else{echo "<center><p>You can't see the content ! , please login !</center></p>";}?>
Inspecting the PHP Code of the dashboard.php script, we can confirm what we said before, this snippet concatenates a .php extension to the value of the pagename parameter and passes all this as argument to the include() function
Apart from that, there is nothing else interesting, no juicy comments, passwords or database connections…
Arbitrary File Upload via SMB
However, remember that we have write permissions on one of the Shared Resources via SMB
If we are able to know what is the system path where the files we upload are stored, we could point to them through the LFI we already have
Let’s take a look back and analyze again the shared folders that we listed earlier
smbmap -H friendzone -u '' -p ''
Command Output
[+] Guest session         IP: friendzone:445      Name: unknown
     Disk                                                    Permissions     Comment
     print$                                                  NO ACCESS       Printer Drivers
     Files                                                   NO ACCESS       FriendZone Samba Server Files /etc/Files
     general                                                 READ ONLY       FriendZone Samba Server Files
     Development                                             READ, WRITE     FriendZone Samba Server Files
     IPC$                                                    NO ACCESS       IPC Service (FriendZone server (Samba, Ubuntu)
In the comments sections, we have one that stands out above the rest
“FriendZone Samba Server Files /etc/Files”
This is related to the Files shared folder, which we can assume to be located in /etc and therefore its full path is /etc/Files
Although we do not know anything about the location of the Development shared folder, which is where we have write permissions, we could also assume that is in /etc, being its full path /etc/Development
Therefore, assuming that the PHP OpenBaseDir Directive is set to None or that the /etc path is included in it, let’s create a PHP Reverse Shell to upload it in the Development shared folder and point to it using the LFI
Everything seems to be ok, just set up a listener in your machine with the TCP Port you specified in the PHP Reverse Shell and point to the uploaded file using its full path and let’s see what happens
We are not part of any sensitive group and we do not have the password of the user www-data, therefore, we cannot see if this user has any sudo privileges
If we inspect the files in /var/www, we see different directories that correspond each one to an Apache Virtual Host through the Document Root directive
But we see another interesting file called mysql_data.conf. It may contain credentials since it’s a configuration file
cat mysql_data.conf
msyql_data.conf
for development process this is the mysql creds for user frienddb_user=frienddb_pass=Agpyu12!0.213$db_name=FZ
We can check if there is a user called friend as follows →
ls -l /home
NOTE
total 4drwxr-xr-x 5 friend friend 4096 Sep 13 2022 friend
There are no interesting SUID Binaries to privesc and we cannot list the system capabilites for any binary
Let’s see if there are any declared Cron Jobs in the /etc/crontab file or systemctl timers
grep -iP -- '^[^#].+' /etc/crontab
/etc/crontab/
SHELL=/bin/shPATH=/usr/local/sbin:/usr/local/bin:/sbin:/bin:/usr/sbin:/usr/bin17 * * * * root cd / && run-parts --report /etc/cron.hourly25 6 * * * root test -x /usr/sbin/anacron || ( cd / && run-parts --report /etc/cron.daily )47 6 * * 7 root test -x /usr/sbin/anacron || ( cd / && run-parts --report /etc/cron.weekly )52 6 1 * * root test -x /usr/sbin/anacron || ( cd / && run-parts --report /etc/cron.monthly )
systemctl list-timers
Command Output
3 EET 27min ago systemd-tmpfiles-clean.timer systemd-tmpfiles-clean.serviceMon 2025-02-03 00:00:00 EET 5 days left Tue 2025-01-28 12:52:22 EET 42min ago fstrim.timer fstrim.service6 timers listed.Pass --all to see loaded but inactive timers, too.
There is nothing relevant here either
Cron Job and Recurring Tasks Enumeration using PSPy
Download the PSPy binary from your machine and transfer it to the target. Then we can run it and monitor the processses running on the system recurrently
From the Attacker
curl --silent --request GET --remote-name --location "https://github.com/DominicBreuker/pspy/releases/download/v1.2.1/pspy64"
It is Python2.7 ! Note that we have full permissions on the Python2.7’s Os module
Therefore, we can proceed to modify this python module and, for example, add a line that grants the SUID special permission to the /bin/bash binary
In this case, since we are editing the os module, which is normally used to execute system commands, we will import the subprocess module and use the subprocess.call method/function